Tuesday, April 20, 2010
Friday, April 16, 2010
Thursday, April 15, 2010
New Class Kit
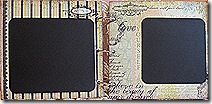
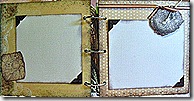
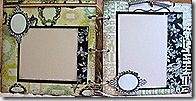
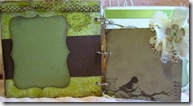
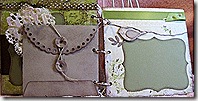
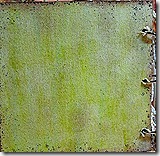
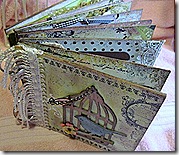
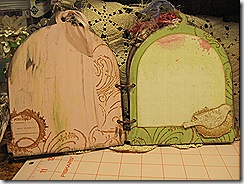
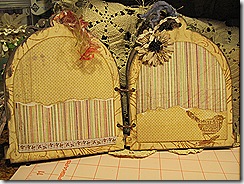
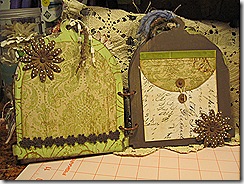
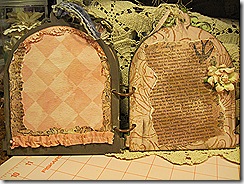
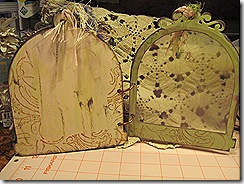
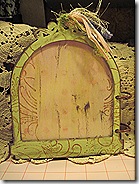
This kit features the New Tim Holtz- Caged Bird set also the Tattered Florals Bigz dies. I designed this kit for the Vero Scrapbook Store . It also features the latest 6x6 “Webster’s Pages” prints called Lullaby Lane and Life’s Portrait. This vintage style 6x6 canvas album can be used for a variety of themes, Spring, Mother’s Day vintage photos etc, possibilities are endless. Please contact Vero Scrapbook Store for more information and availability of kits. http://veroscrapbookstore.com
Friday, April 9, 2010
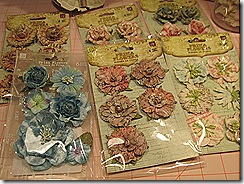
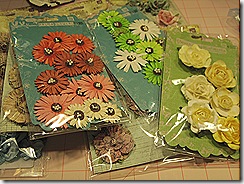
I am in love with all the New Prima Flowers
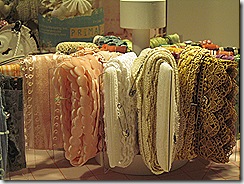
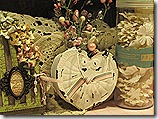
Here are some of the newer assortments I have been collecting for the past couple months. I am now obsessed with them. I know this is crazy- but I just can’t help my self. They are too pretty to use. I used one whole package to create the Birdcage Album I showed in an earlier post. They are too pretty to use I just all I want to do is look at them.
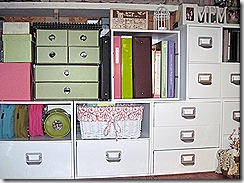
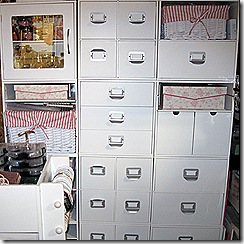
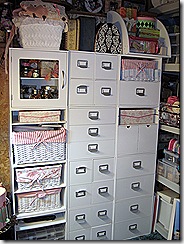
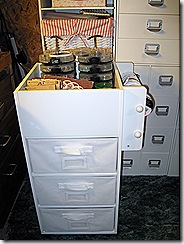
Old Sewing Machine Drawers
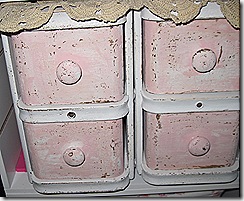
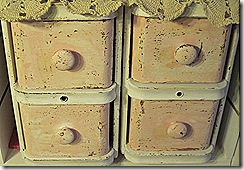
About a year or so ago, my husband took the drawers out of an old Singer sewing machine that had belonged to his mother. The cabinet was not salvageable, but we kept the drawers. I saw them sitting in my husbands shed out back and decided it was time to redo them and begin to use them again in my scrapbook room. I wished I had taken before and after pictures. What was I thinking! Oh well, I am happy with the results and love where they are now displayed in my newly redone scrapbooking area. Perfect spot for them!!!!!!!!
The lighter pink is more the true colors. I guess it is just the lighting at the time my flash was on that gives the peach tint to them. I painted them white and then sanded them, applied pink acrylic paint and then roughly sanded them to bring out the under coat of the old walnut stain and gave them a shabby chic look, I really love they way they turned out. They hold a lot of fun things to create with.
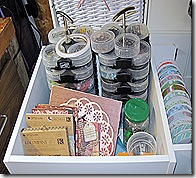
Great Idea to display Ribbons
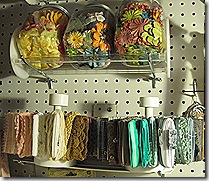
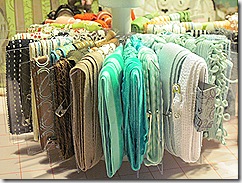
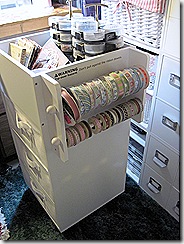
I recently saw on a blog that I follow an idea to store ribbons. I love having my eye candy out to inspire me to create and use up some of my prized embellishments, and ribbon and laces are my weakness when it comes to embellishments.
I changed it up a bit from the one I saw on the blog. She used chipboard and cut the partitions in the shape of a spool, which was a really cool idea, however, I had a lot of scrap clear acrylic that was left over from one of the classes I taught and thought it would be perfect to be able to see through the partitions and really show off the vibrancy of my ribbon and laces. Of course, this is not all my stash, but some of my favorite ones.
Below is my version of the above idea. I went crazy and made two. I love how they add so much color to my shelves. I am so loving them.
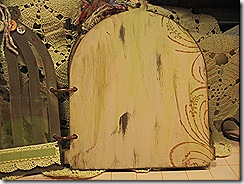
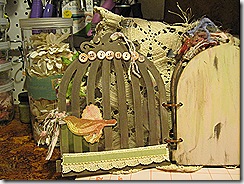
Maya Road Birdcage Album I created April 2010
I recently purchased from Scrappy Gourmet some Prima Flowers, Maya Road Birdcage album. I was anxious to work on this project just because I love the whole birdhouse craziness. I am awaiting some Spring photos from Tina to complete my album. I am having lots of fun creating with the new Prima Flowers, there are so many gorgeous new flowers to choose from, way too many for my budget.
I have a few more ideas in my “head”, not yet started, but soon! 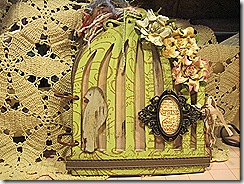
Wednesday, March 3, 2010
Monday, March 1, 2010
More Reorganization
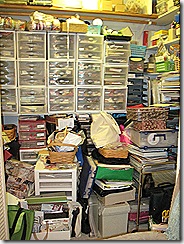
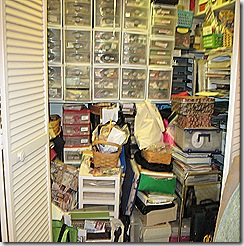
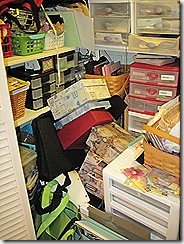
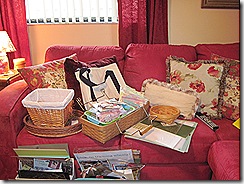
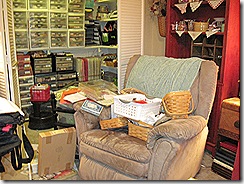
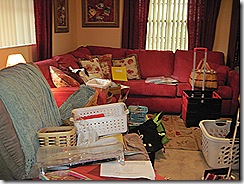
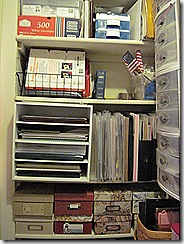
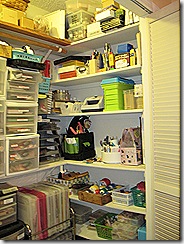
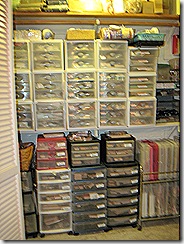
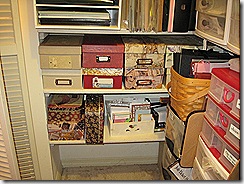
Recently my friend, June, employed me to take on the challenge of re-organizing her scrapbook storage closet. This is a work in progress. This job mostly consisted of un-cluttering in front of her existing closet. After a few hours she was able to access her closet. Future plans are to incorporate the 14x14 white storage cubes purchased from Michaels Craft store.
I will share a few before and after photos of the “work in progress!”
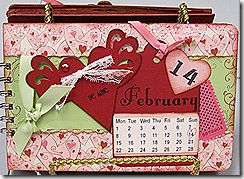
Recent Class for Vero Scrapbook Store (Valentine Theme)
Recently I held a class for Vero Scrapbook Store. It was a small class, however, fun was had by all. I look forward to doing many classes in the near future for the store.
My Scrap Room Redo
Once again I was forced to make some changes to my scrap room area. Although it was a much needed change, I was not prepared to step up to the plate and do it, I was forced to take the bull by the horns and get it done.
After many years of not having my laundry area completed, my husband decided to make me happy and finish the walls and make some much needed shelving and counter top in my laundry area for me to have some extra scrapbooking area to be able to use my die cutting machines without having to put them away after each use.
He completed the job several months ago and I was thrilled beyond expression, however, two weekends ago my grand daughter was sitting at the counter with the laptop computer and I heard a pop, I went to see what the noise was all about and Tiffany said, “I think the shelf is about to come down “, so then I immediately told her to get the computer and for her to move out of the area. No sooner than she left the room, the shelving came loose from the wall and everything came crashing down on my poor head. Oh my, what a mess! After the initial shock, of it all seeing all my treasures on the floor, I began cleaning up the area and moving it all over the place just to get the walk area clear. My husband said when he put the shelving up he had no idea the weight I was putting on the shelves and he said, “ I never designed them to hold that much weight.” Now he will have to reinforce the shelves and put it back. I put the shelving units on my countertop for now, until he can fix them. This is not the final outcome, but for now at least it gives me a workable area to use my machines. I like having my full counter space, however this will have to do for now.
I would love to have new carpet in my room, but for now I will have to deal with the existing carpet remnant it is teal and faded out, but one thing at a time is all my budget will allow.
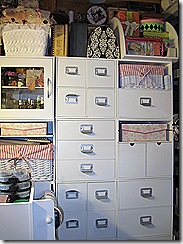
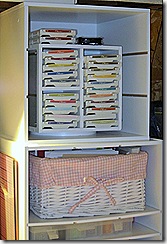
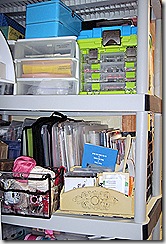
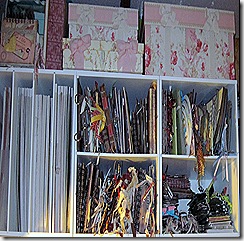
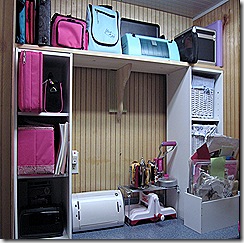
In the meantime, I had to find space for a big portion of what fell. I began the tedious process of re doing my scrapbook space by removing a utility shelving unit and replaced with the 14x14 white storage cubes I purchased at Michaels to reorganize the area where the utility shelving unit was. I must say it looks much better now that I condensed and got rid of some supplies I no longer needed and was just storing thinking I would someday need it. Of course, you know all of us scrapbookers have to have the “I gotta have stuff” most of the time I never use it so it was time to re-cycle by giving away, donating to Goodwill, or just plain trashing. I don’t recommend this being the best way to re-organize, however I was forced to get it done. I am glad it is behind me now, so I can get back in the mood to Scrapbook my memories.
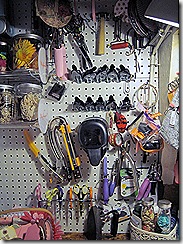
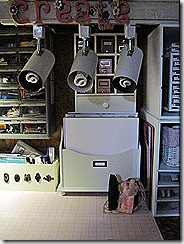
Here are a few pictures of the re-organized area.
